Are you looking to develop software or applications? Then, the first step is to install development tools on your computer. These tools are essential for creating and testing code, and without them, your project will grind to a halt.
In this article, we will guide you through the installation process, so you can get started with your development journey. Let’s dive in!
[h2]What Are Development Tools?[/h2]
Development tools are software programs that help developers write and test code. They include a range of programs such as compilers, debuggers, integrated development environments (IDEs), and text editors.
Compilers translate source code into machine code that computers can understand. Debuggers help developers find and fix errors in their code. IDEs provide an all-in-one environment for writing, debugging, and testing code. Text editors allow developers to write code in plain text format.
[h2]Why Do You Need Development Tools?[/h2]
Without development tools, programming would be much harder. Developers would have to manually write machine code for every program they create. This would be time-consuming and error-prone.
Development tools make the coding process easier by providing a range of features such as syntax highlighting, auto-completion, and debugging capabilities. They allow developers to focus on writing high-quality code rather than getting bogged down in tedious tasks.
[h2]How Do You Install Development Tools?[/h2]
The installation process varies depending on the tool you want to install. In general, you will need to follow these steps:
1. Choose Your Tool
Decide which development tool you want to install based on your needs and preferences. Some popular options include Visual Studio Code, Eclipse, and IntelliJ IDEA.
2. Download the Installer
Visit the website of the tool you want to install and download the appropriate installer for your operating system.
3. Run the Installer
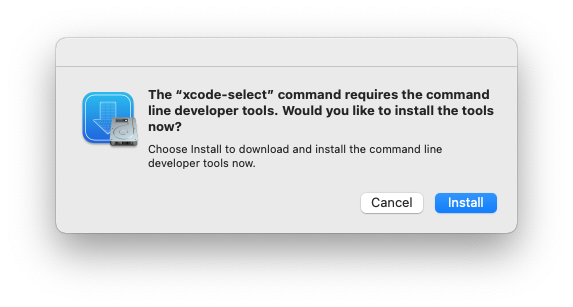
Double-click on the installer file to launch the installation wizard. Follow the prompts to install the tool on your computer. Be sure to read and accept any license agreements.
4. Configure Your Tool
Once the installation is complete, you may need to configure your tool before you can start using it. This may involve setting up a project or configuring preferences such as font size and color scheme.
[h2]Tips for Installing Development Tools[/h2]
Here are some tips to help you install development tools smoothly:
1. Choose a Reputable Tool
There are many development tools available, but not all of them are equal in terms of quality and reliability. Research different options and choose a reputable tool that has good reviews from other developers.
2. Check System Requirements
Before downloading an installer, check that your computer meets the system requirements for the tool you want to install. Some tools may require specific hardware or software configurations.
3. Keep Your Tools Up-to-Date
Development tools are constantly evolving, so it’s important to keep them up-to-date with the latest versions. This ensures that you have access to new features and bug fixes.
[h2]Conclusion[/h2]
Installing development tools is an essential step in starting your programming journey. Without these tools, coding would be much harder and more time-consuming.
By following our step-by-step guide, you can install development tools quickly and easily. Remember to choose a reputable tool, check system requirements, and keep your tools up-to-date.
Now that you have installed your development tools, you are ready to start writing code! Good luck!
Wiki Reference:
https://en.wikipedia.org/wiki/Integrated_development_environment


