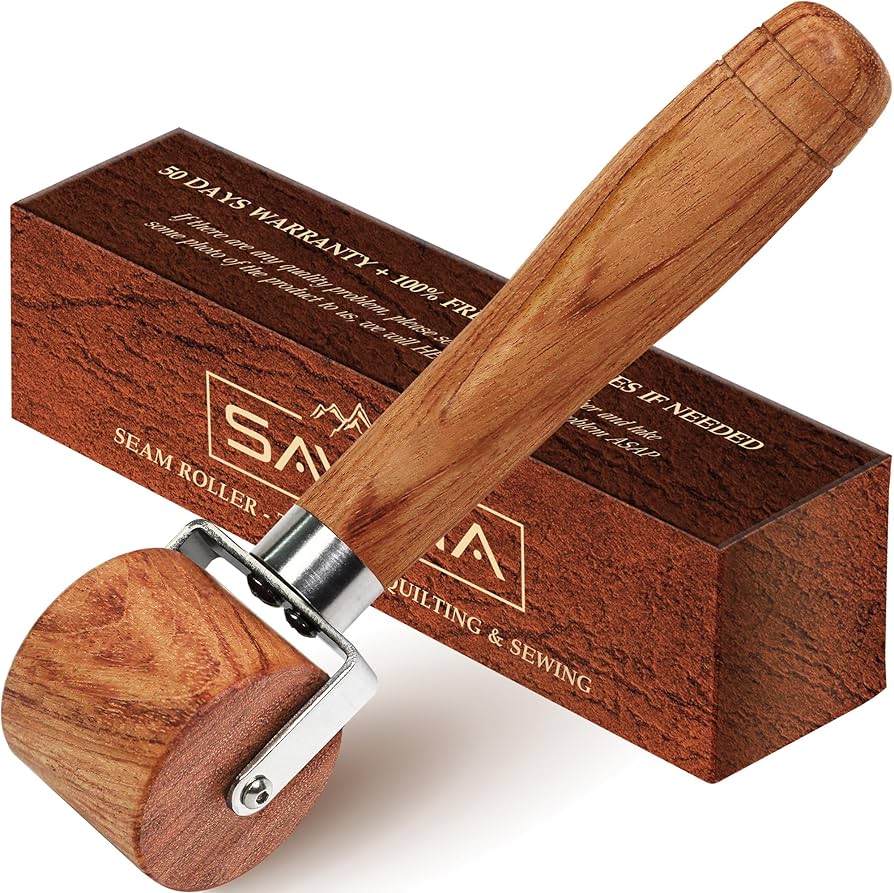
Are you tired of dealing with uneven seams in your DIY projects? Look no further than the seaming tool! This versatile and essential tool is a must-have for any DIY enthusiast. In this comprehensive guide, we’ll cover everything you need to know about choosing, using, and maintaining a seam roller tool.
What Is a Seaming Tool?
A seaming tool, also known as a seam roller, is a handheld device used to create smooth and even seams in various materials, including fabric, wallpaper, and vinyl flooring. It typically features a cylindrical roller made from plastic or metal that is attached to a handle.
Why Use a Seaming Tool?
Using a seaming tool has many advantages over other methods of creating seams. First and foremost, it enables you to create smooth and even seams quickly and easily. It’s also less likely to damage delicate materials than other tools such as an iron or presser foot.
Additionally, using a seaming tool can save you time and money. By creating professional-looking seams yourself, you won’t have to pay someone else to do it for you. Plus, the cost of a seaming tool is relatively low compared to other sewing supplies.
Choosing the Right Seaming Tool
When choosing a seaming tool, there are several factors you should consider:
1. Material – Seaming tools come in various materials such as plastic or metal. Metal rollers are more durable but can be heavier to use.
2. Size – Consider the size of the roller when choosing your seaming tool. A larger roller may cover more surface area but could be harder to maneuver in tight spaces.
3. Handle – The handle should be comfortable to grip and easy to hold onto for extended periods.
4. Texture – Some rollers feature textures on the surface that can help grip the material better.
Using a Seaming Tool
Now that you’ve chosen your seaming tool, it’s time to put it to use!
1. Prepare the material – Before using your seaming tool, make sure the material is clean and free of wrinkles.
2. Position the material – Place the material on a flat surface with the seam facing up.
3. Apply pressure – Hold the seaming tool with one hand and apply pressure to the roller with the other hand. Roll over the seam in a back-and-forth motion until it is smooth and even.
4. Repeat as necessary – Depending on the length of your seam, you may need to repeat this process several times until it is complete.
Maintaining Your Seaming Tool
Proper maintenance of your seaming tool is essential to ensure its longevity and effectiveness. Here are some tips for keeping your seaming tool in top condition:
1. Clean after use – After each use, wipe down the roller with a damp cloth to remove any debris or residue.
2. Store properly – Store your seaming tool in a dry place to prevent rust or corrosion.
3. Lubricate as needed – If your seaming tool starts to feel stiff or squeaky, apply a small amount of lubricant to keep it running smoothly.
Conclusion
A seaming tool is an essential tool for creating professional-looking seams in a variety of materials. By choosing the right seaming tool, using it correctly, and maintaining it properly, you can achieve flawless results every time.
So why wait? Get your hands on a seaming tool today and take your DIY projects to the next level!
References:
https://en.wikipedia.org/wiki/Seam_roller


