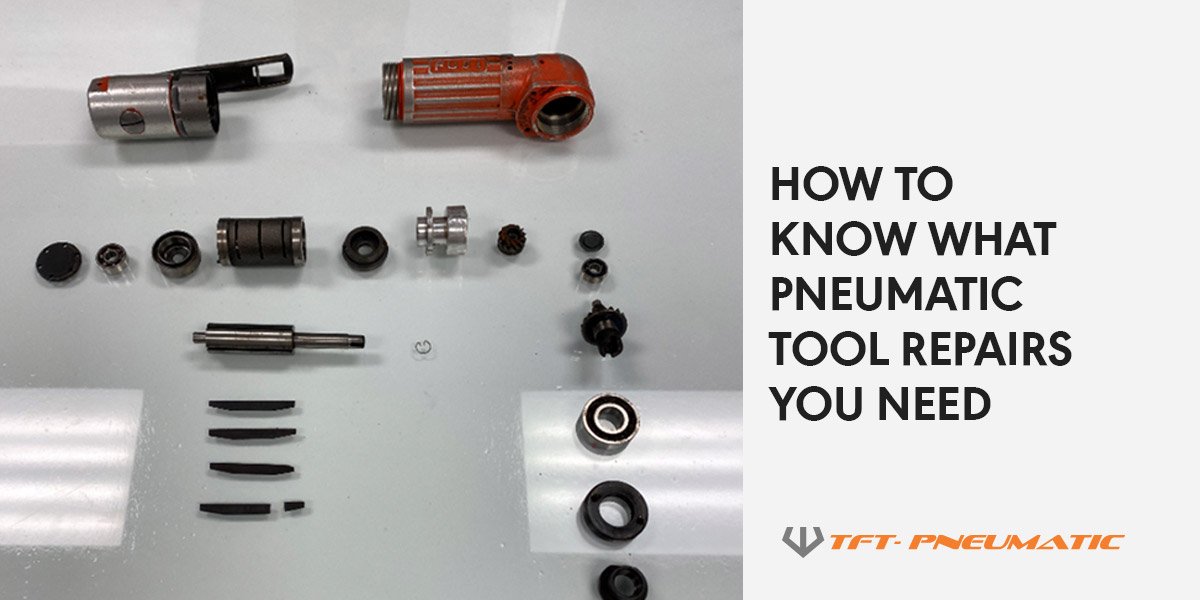
If you work in construction, manufacturing, or automotive industries, then air tools are likely an essential part of your daily routine. From nail guns and paint sprayers to drills and sanders, air tools provide a level of power and efficiency that simply can’t be matched by their electric counterparts.
However, like any mechanical device, air tools require regular maintenance and repairs to keep them running at peak performance. In this article, we’ll take a comprehensive look at air tool repair, including common issues and how to fix them, tips for preventative maintenance, and when it’s time to call in the professionals.
Common Air Tool Problems and How to Fix Them
As with any mechanical device, air tools can experience a range of issues over time. Some of the most common problems include:
1. Leaks
One of the most common issues with air tools is leaks. This can be caused by worn or damaged seals, loose connections, or damage to the hoses or fittings. To fix this issue, start by checking all connections and tightening them as needed. If you still notice leaks, check the seals and replace them if necessary.
2. Low Power
If your air tool isn’t providing the same level of power as usual, it could be due to several factors. Check the compressor pressure gauge and adjust it as needed. If that doesn’t help, check the filter and regulator for clogs or damage.
3. Overheating
Overheating is another common problem with air tools. This can be caused by a lack of oil or lubrication in the tool’s motor. To fix this issue, check your manufacturer’s recommendations for oil changes and make sure you’re using the correct type of oil.
Preventative Maintenance Tips for Your Air Tools
While some issues with air tools are inevitable over time, there are several things you can do to prevent many common problems. Here are some tips for preventative maintenance:
1. Regular Cleaning
Regular cleaning of your air tools can go a long way in preventing issues down the line. Use a cloth or brush to remove debris and dust from the tool’s body, hose, and fittings. If necessary, use a specialized cleaner to remove stubborn dirt.
2. Lubrication
Proper lubrication is essential for keeping your air tools running smoothly. Check your manufacturer’s recommendations for oil changes and make sure you’re using the correct type of oil. Apply oil to the tool’s motor and other moving parts as needed.
3. Proper Storage
Proper storage is also important for preventing damage to your air tools. Store them in a dry, cool place away from direct sunlight and moisture. Use a protective case or cover to prevent scratches or dents.
When to Call in the Professionals
While many air tool repairs can be done on your own with some basic knowledge and tools, there may be times when it’s best to call in the professionals. Here are some signs that it’s time to seek professional help:
1. Complicated Repairs
If your air tool requires complicated repairs such as motor replacement or gearbox repair, it’s best to leave it to a professional who has experience working with these types of repairs.
2. Safety Concerns
If you’re not confident in your ability to safely repair your air tool, it’s best to seek professional help. A professional repair technician will have the proper training and equipment needed to handle potentially dangerous situations.
3. Warranty Issues
If your air tool is still under warranty, attempting any repairs on your own could void that warranty. To avoid this issue, always consult with the manufacturer before attempting any repairs yourself.
Conclusion
Air tools are an essential part of many industries, providing power and efficiency that simply can’t be matched by their electric counterparts. However, they require regular maintenance and repairs to keep them running at peak performance. By following the tips outlined in this article, you can prevent many common issues and know when it’s time to seek professional help.
References
– Wikipedia: Air Tool
– Popular Mechanics: How to Repair Pneumatic Tools


