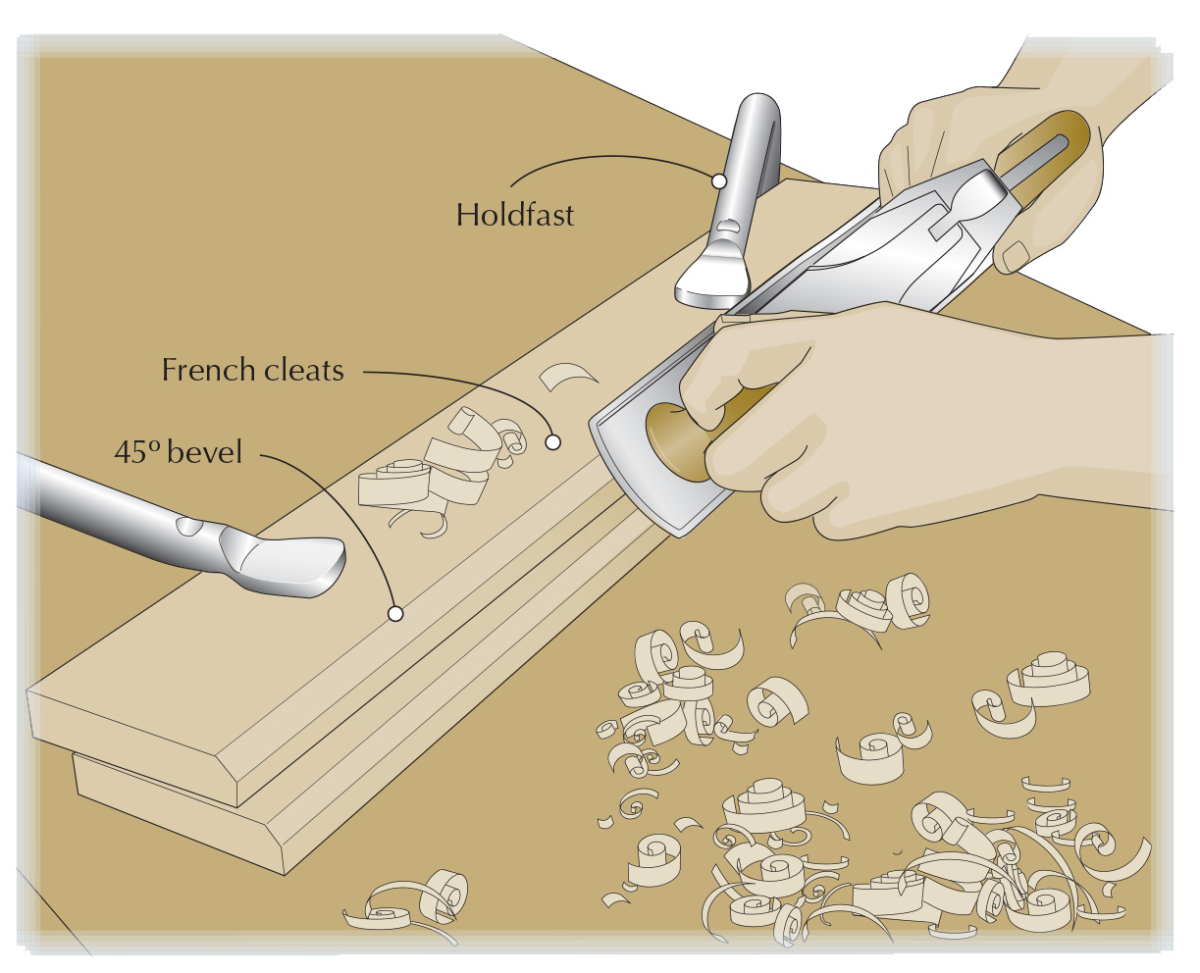
Are you tired of uneven bevels ruining your woodworking projects? Look no further than the beveler tool! This versatile tool is a must-have for any woodworker looking to achieve precise angles and clean edges. In this comprehensive guide, we will cover everything you need to know about the beveler tool and how to use it effectively.
What is a Beveler Tool?
A beveler tool, also known as a bevel gauge or sliding bevel, is a measuring instrument used to determine and transfer angles. It consists of two arms that are joined by a pivot point, allowing the user to adjust the angle between them. The arms are usually made of metal or plastic and have markings to indicate the angle being measured.
The beveler tool is commonly used in woodworking to mark and cut accurate angles on wood pieces. It can also be used in metalworking, construction, and other trades where precision angles are required.
How to Use a Beveler Tool
Using a beveler tool is relatively simple. First, loosen the locking knob located at the pivot point so that the arms can move freely. Then, position one arm against the edge of the object you want to measure or mark.
Adjust the second arm until it matches the angle you want to measure or transfer. Once the angle is set, tighten the locking knob to keep the arms in place.
To mark an angle on your wood piece, hold the beveler tool against the edge of the wood with one arm flush against it. Use a pencil or marking knife to trace along the other arm, marking where the angle meets the wood surface.
When cutting an angled piece of wood, use your marked line as a guide for your saw or miter box.
Types of Beveler Tools
There are several types of beveler tools available, each with its own unique features and uses. The most common types include:
1. Standard Beveler Tool – This is the most basic type of beveler tool and is used for measuring and transferring angles up to 180 degrees.
2. Digital Beveler Tool – This type of beveler tool uses digital technology to display the angle being measured or transferred on an LCD screen. It is ideal for precise measurements and can often measure angles up to 360 degrees.
3. Magnetic Beveler Tool – A magnetic beveler tool has a magnet on one arm, making it easy to attach to metal surfaces when measuring or marking angles.
4. Adjustable Beveler Tool – An adjustable beveler tool allows the user to adjust the length of the arms, making it easier to measure or transfer angles in hard-to-reach areas.
Tips for Using a Beveler Tool
– Always make sure your beveler tool is calibrated correctly before use.
– Use a sharp pencil or marking knife to ensure accurate markings.
– When cutting wood at an angle, take extra care to ensure your saw is set correctly and that your cut follows the marked line precisely.
– For complex angles, consider using more than one beveler tool to get a more accurate reading.
– When storing your beveler tool, make sure it is clean and dry to prevent rusting or damage.
Conclusion
If you are serious about woodworking, a beveler tool is an essential addition to your toolkit. With its ability to accurately measure and transfer angles, this versatile tool will help you achieve perfect cuts every time. By following our tips for use and maintenance, you can keep your beveler tool in top condition and enjoy years of precision craftsmanship.
References:
1. https://en.wikipedia.org/wiki/Bevel_gauge
2. https://www.familyhandyman.com/tools/measuring-tools/how-to-use-a-bevel-gauge/
3. https://www.bobvila.com/articles/bevel-gauge/
4. https://www.popularmechanics.com/home/tools/reviews/a27431/tool-test-bevel-gauges/


