Are you tired of the same old paint job on your car? Want to make it stand out from the crowd? Look no further than a car wrap tool kit! With the right tools and a little bit of patience, you can transform your vehicle into a work of art. In this ultimate guide, we’ll show you everything you need to know about using a car wrap tool kit to achieve professional-looking results.
What is a Car Wrap Tool Kit?
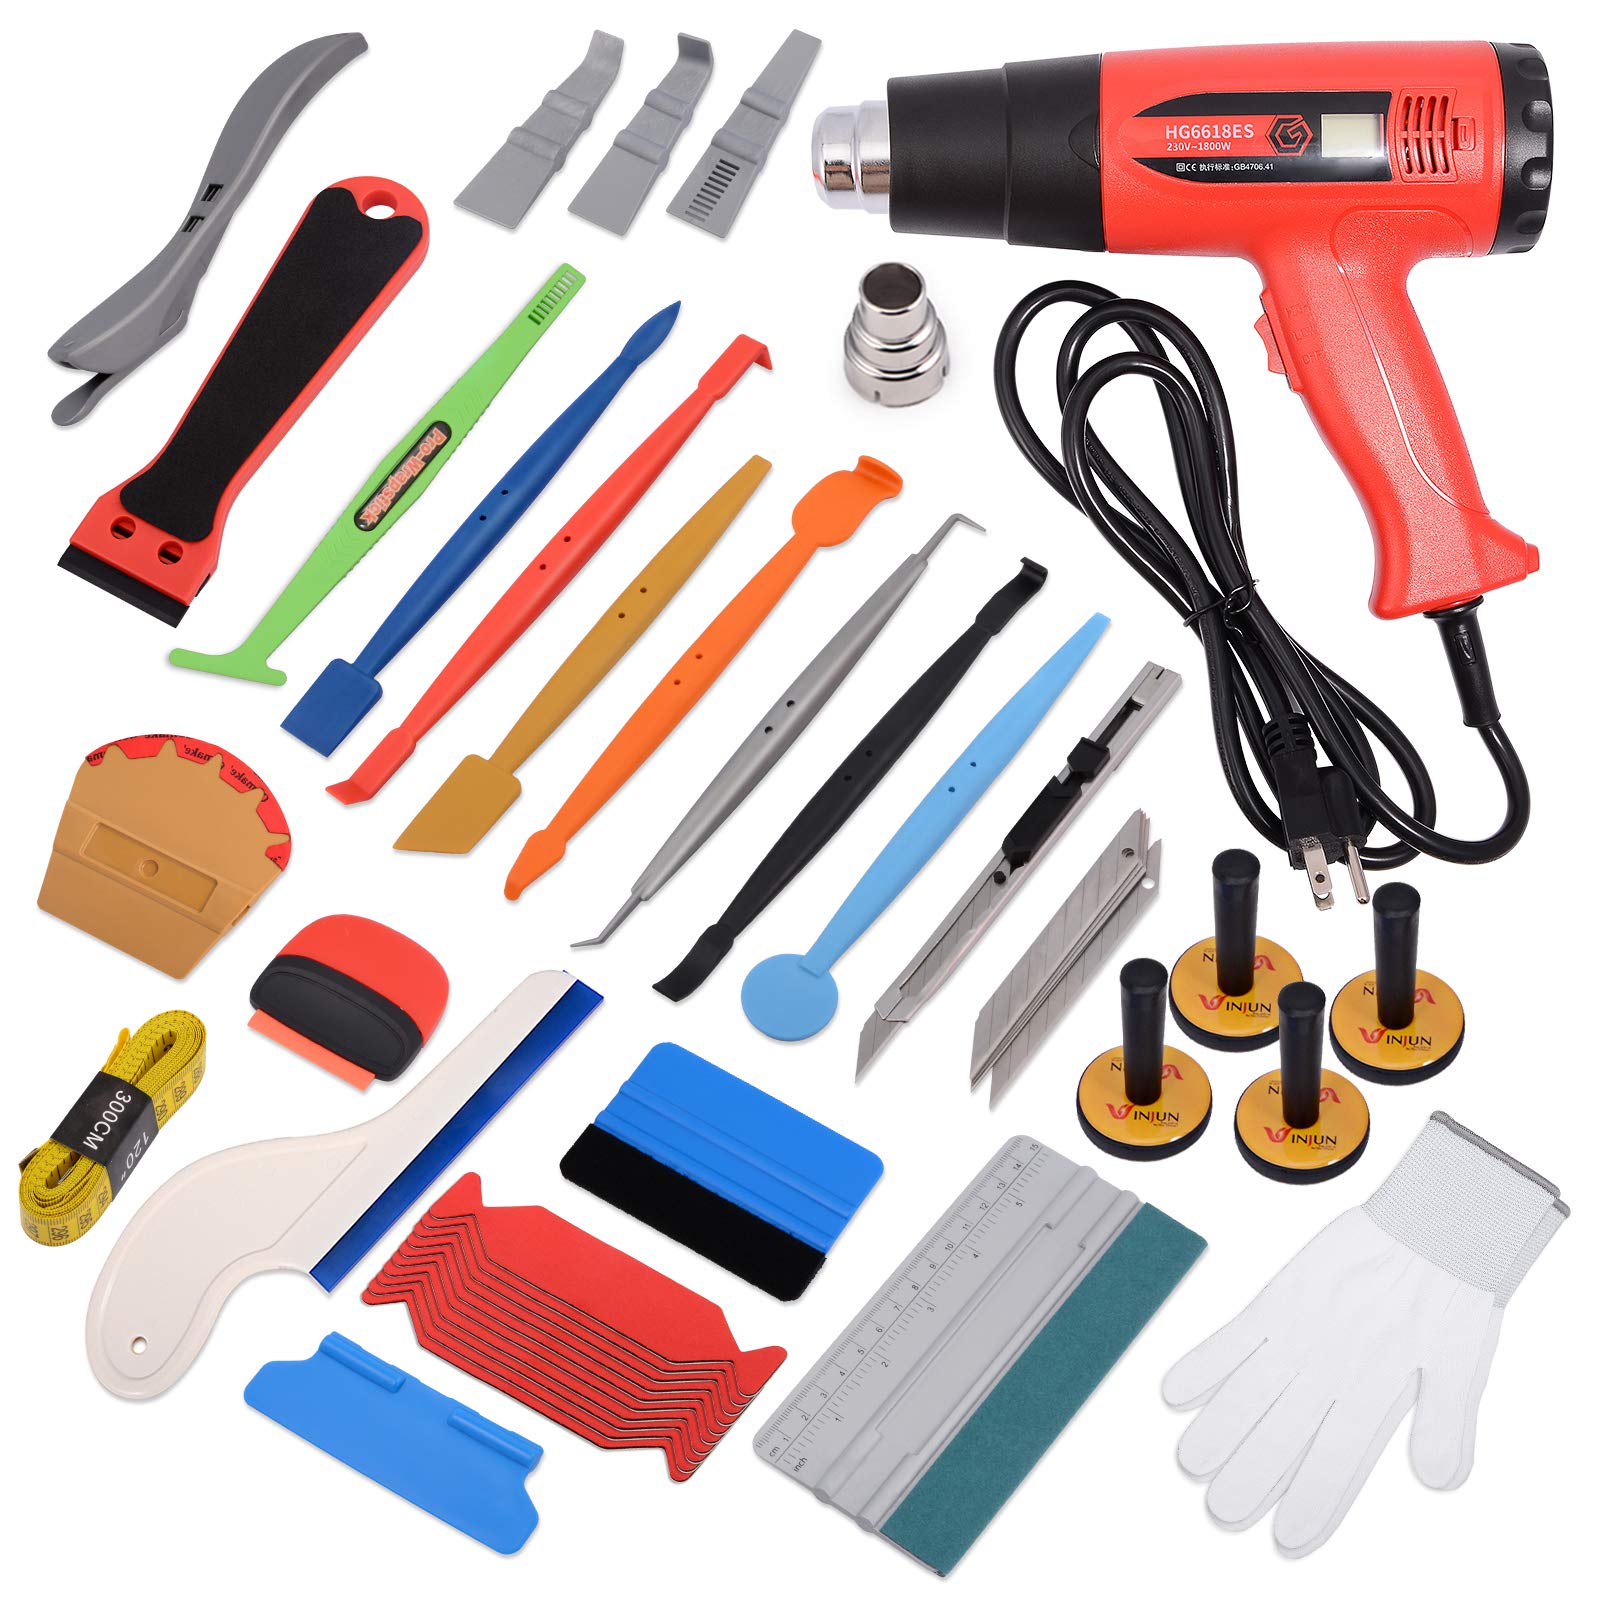
A car wrap tool kit is a collection of specialized tools and materials used for wrapping cars. It typically includes items such as vinyl wrap, squeegees, heat guns, cutting tools, and more. These kits are designed to make the process of wrapping your car easier and more efficient, ensuring that you get the best possible results.
Why Use a Car Wrap Tool Kit?
There are several reasons why using a car wrap tool kit is beneficial. First and foremost, it provides you with all the necessary tools and materials in one convenient package. This makes it much easier to get started with your project without having to hunt down individual items.
Additionally, using a car wrap tool kit ensures that you have access to high-quality materials that are specifically designed for use on vehicles. This means that your finished product will be durable and long-lasting, even when exposed to harsh weather conditions.
Finally, using a car wrap tool kit can save you time and money in the long run. By investing in the right tools up front, you can avoid costly mistakes and ensure that your project is completed quickly and efficiently.
Choosing the Right Car Wrap Tool Kit
When selecting a car wrap tool kit, there are several factors to consider. First and foremost, you want to choose a kit that includes all the necessary tools and materials for your specific project. This may include different types of vinyl wrap, cutting tools, squeegees, and more.
Additionally, you want to choose a kit that is high-quality and durable. Look for kits that include tools made from sturdy materials such as metal or hard plastic, as these will be more long-lasting than their cheaper counterparts.
Finally, consider the price of the kit. While it’s important to invest in quality tools and materials, you don’t want to overspend on a kit that includes items you don’t need. Shop around and compare prices before making a final decision.
Preparing Your Vehicle for Wrapping
Before you can begin wrapping your car, you’ll need to prepare the surface properly. This involves cleaning the vehicle thoroughly and removing any existing paint or decals that may be present.
Start by washing your car with soap and water to remove any dirt or debris. Next, use a degreaser to remove any oils or waxes that may be present on the surface. Once the car is clean, use a heat gun or scraper to remove any existing paint or decals.
It’s important to note that if your car has significant damage or rust spots, it may not be suitable for wrapping. In these cases, it’s best to seek out professional assistance rather than attempting to wrap the vehicle yourself.
Applying the Vinyl Wrap
Once your vehicle is clean and prepped, it’s time to begin applying the vinyl wrap. Start by measuring and cutting the vinyl into strips that are slightly larger than the area you’re working on. This will allow you to trim away excess material later on.
Next, apply a small amount of heat to the vinyl using a heat gun. This will help make it more pliable and easier to work with. Carefully place the vinyl onto your vehicle, starting at one end and working your way across.
Use a squeegee to smooth out any wrinkles or bubbles in the vinyl as you go along. Be sure to work slowly and carefully, taking your time to ensure that the vinyl is applied evenly and smoothly.
Trimming Away Excess Material
Once you’ve applied the vinyl to your vehicle, it’s time to trim away any excess material. Use a cutting tool such as a knife or scissors to carefully trim around the edges of the vinyl. Be sure to work slowly and carefully, taking care not to cut into the paint or underlying surface of the vehicle.
Finishing Touches
Finally, once you’ve trimmed away all excess material, it’s time to add any finishing touches. This may include adding decals or other embellishments to your car wrap. Be sure to use high-quality materials and take your time with this step to ensure that your finished product looks professional and polished.
In Conclusion
Wrapping your car can be a fun and exciting project that allows you to transform your vehicle into something truly unique. With the right car wrap tool kit and some basic knowledge of how to apply vinyl wrap, you can achieve professional-looking results in no time.
Remember to take your time, choose high-quality materials, and follow proper preparation techniques before beginning your project. With a little bit of patience and attention to detail, you’ll have a stunning new look for your vehicle in no time!
References:
https://en.wikipedia.org/wiki/Vinyl_wrap
https://www.caranddriver.com/features/a15109922/turn-your-car-into-a-moving-billboard/
https://www.autotrader.ca/newsfeatures/20181129/how-to-wrap-your-car-in-vinyl/
https://www.detailxperts.net/blog/2017/05/03/the-pros-and-cons-of-car-wrapping-compared-to-repainting/
https://www.carsguide.com.au/car-advice/vinyl-wrapping-vs-painting-whats-best-for-your-car-40583