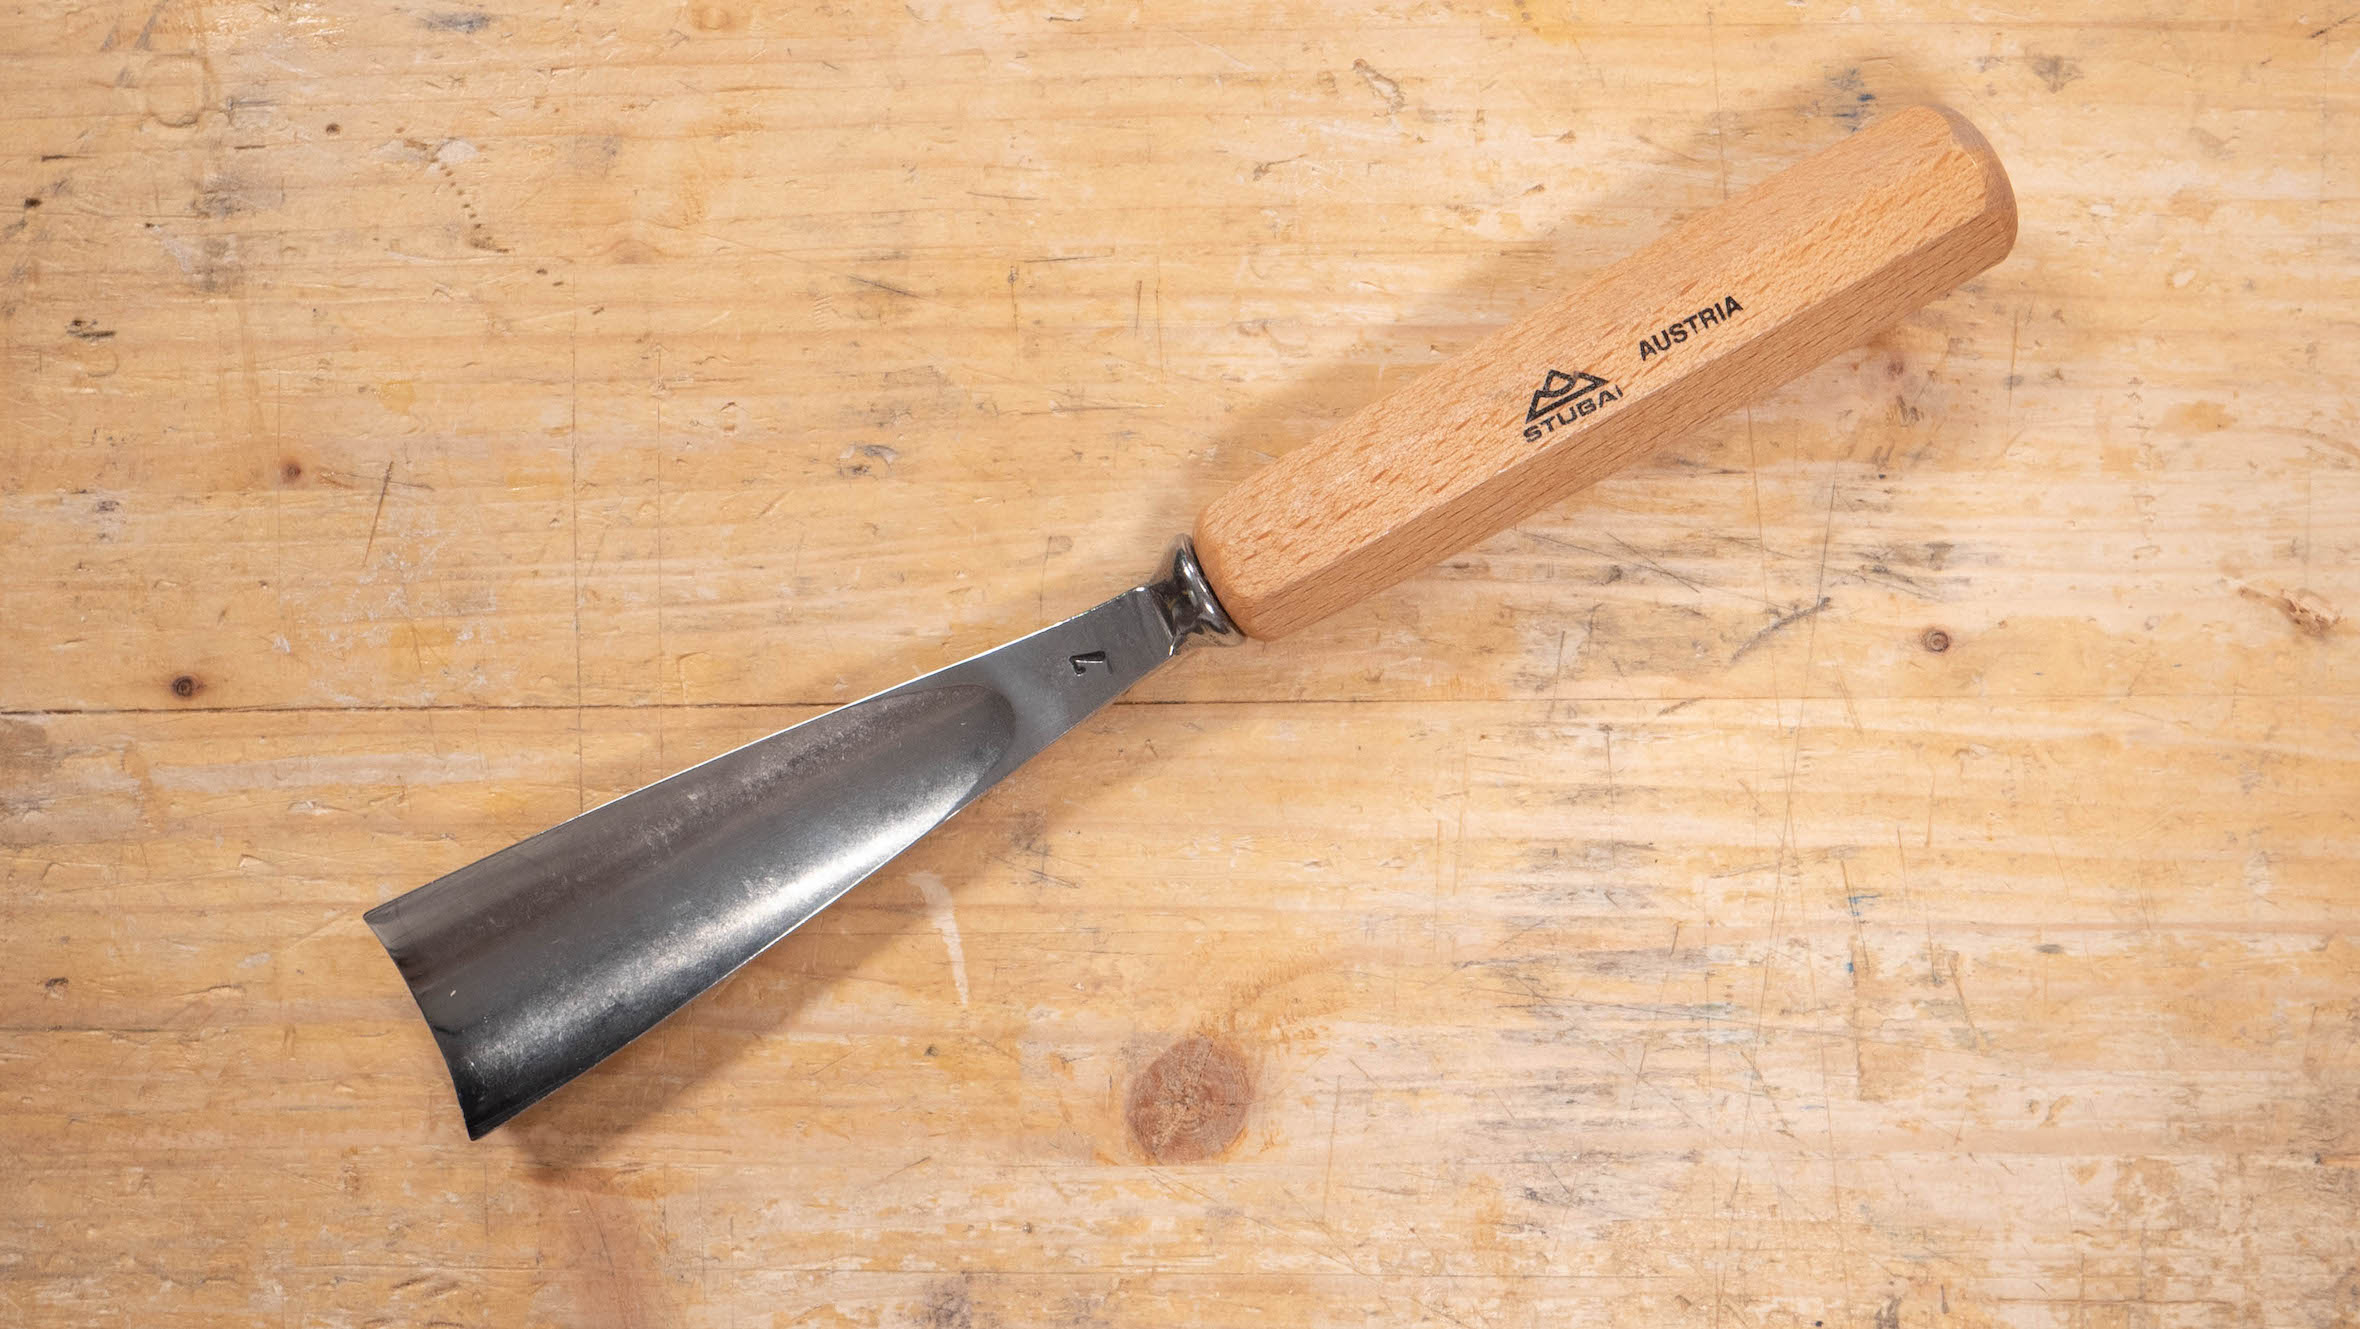
If you’re a woodworking enthusiast, then you must have heard of the gouge tool. It’s one of the most versatile tools in any woodworker’s arsenal, with the ability to create intricate designs and shapes on wood surfaces. In this guide, we will take a closer look at the gouge tool and how it can be used to achieve amazing results.
What is a Gouge Tool?
A gouge tool is a chisel-like tool that features a curved or V-shaped blade that is used for cutting wood. It is typically made from high-quality steel and has a wooden handle that provides a comfortable grip. The blade of the gouge tool is sharpened to an extremely fine edge, which allows it to cut through wood with ease.
Types of Gouge Tools
There are several types of gouge tools available, each designed for specific woodworking tasks. Here are some common types of gouge tools:
1. Straight Gouges: These are the most commonly used gouge tools and come in different sizes. They feature straight blades that are ideal for making deep cuts in wood.
2. Spoon Gouges: These gouges have curved blades that resemble spoons and are used for creating concave shapes in wood.
3. V-Gouges: As the name suggests, these gouges have V-shaped blades that are ideal for making sharp cuts in wood.
4. Fishtail Gouges: These gouges have a unique fishtail shape that makes them perfect for working in tight spaces and creating intricate designs.
How to Use a Gouge Tool
Using a gouge tool requires practice and patience, but once you get the hang of it, you’ll be able to create amazing designs on your woodworking projects. Here’s how to use a gouge tool:
1. Secure the Wood: Before using a gouge tool, make sure that the wood is properly secured in a clamp or vice to prevent it from moving.
2. Choose the Right Gouge: Depending on the task at hand, choose the right type and size of gouge tool.
3. Mark the Design: Use a pencil or a marker to mark the design on the wood surface before starting.
4. Start Cutting: Hold the gouge tool firmly and start cutting along the marked lines, applying even pressure and making gentle strokes.
5. Refine the Design: Once you’ve made rough cuts, use sandpaper or other tools to refine and smoothen out the design.
Tips for Using a Gouge Tool
Here are some tips that will help you get the most out of your gouge tool:
1. Keep the Blade Sharp: A sharp blade is essential for achieving clean and precise cuts with your gouge tool. Make sure to sharpen it regularly using a honing stone or a sharpening system.
2. Practice Makes Perfect: Using a gouge tool requires practice and patience. Don’t be discouraged if you don’t get it right on your first try.
3. Use Safety Gear: Always wear safety glasses and gloves when working with a gouge tool to protect yourself from flying wood chips and accidental cuts.
4. Experiment with Different Techniques: There are several techniques for using a gouge tool, such as push cuts, pull cuts, and slicing cuts. Experiment with these techniques to find what works best for you.
Conclusion
The gouge tool is an amazing woodworking tool that can help you achieve intricate designs and shapes on wood surfaces. By following these tips and techniques, you’ll be able to use this versatile tool like a pro in no time. Happy woodworking!
References:
1. https://en.wikipedia.org/wiki/Gouge
2. https://www.popularwoodworking.com/techniques/how-to-use-a-gouge/
3. https://www.woodmagazine.com/tool-reviews/hand-tools/chisels-gouges/gouges


