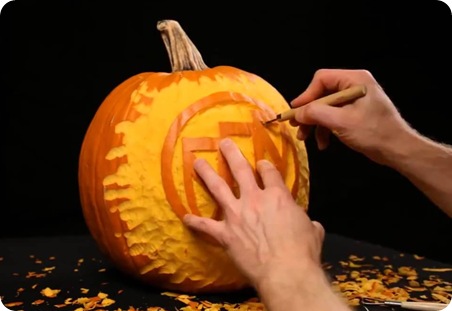
No matter your age or origin, Halloween is one festival you definitely can’t sit out on no matter what happens. The amazing ghost costumes and stories going round will surely give you a thrill you will want to remember. The children going round getting sweets from all round your neighborhood and the crazy parties that are thrown on that night are also something you don’t want to miss out on. Furthermore, above all else you must not forget the amazing decorations that decorate Halloween night, especially the pumpkins. Therefore, you need to learn how to carve a pumpkin so that you don’t end looking like the weird neighbor without the pumpkins, or worse still, the weird looking pumpkin decorations.
Related articles about how to carve a pumpkin
Choosing a pumpkin
The first step to carving a good pumpkin figure begins with choosing the best pumpkin for the job. Of course am hoping you know a store where you can find one. Once you are there, all you need is to select the healthiest one you can find. One without nicks, bruises and cuts. Since you are going to carve it out, find one that’s not squishy. You can choose various sizes for several places in your house. The last thing you need to know is that the time you choose to buy the pumpkins should be right so that they don’t go bad before they fulfil their purpose. In case you carve them early, then you need to store the pumpkin in water to preserve it better.

Carving style
This is definitely the most important section when it comes to learning how to carve a pumpkin. This entails the design and method in which you will carve your pumpkin. This is usually determined by the type of figure you want to carve out from the pumpkin. The several famous techniques include the following;
· Traditional jack -o’-lantern
· Silhouette technique
· Carve in bas-relief technique
The carving design dictates the kind of tools you will need to finish the design. The first thing you need to do is to draft the design you want on the pumpkin before you can begin the carving. You can use a marker or any other marking pen you have at your disposal. After this you need to get your hands on an appropriate knife to begin. And set up a nice working space in which you can do the carving on with ease.
Once on the work area, you need to ensure that you get a table cloth or even a newspaper at the bottom of the pumpkin to catch the spills from the carving you will be doing. For instance, if you are going to carve a normal jack-o’-lantern, you’ll need to carve out the lid by cutting out a circle on the top. Remove the excess on the back of the lid.
Once the lid is perfectly set, you now need to empty the insides of the pumpkin by using a large spoon. The seeds can be stored for planting if you don’t want to buy a new pumpkin next season. After you are done, you can now to design the sides of the pumpkin to bring out that Halloween look. You can do any design from this point on. Just ensure you carve is scary, after all it’s Halloween.


