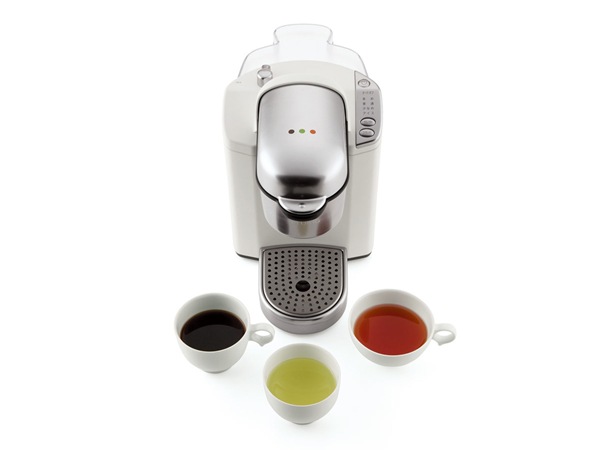
How to clean a Keurig? An American company known as the Keurig Green Mountain are the manufacturers of the Keurig coffeemaker. It has become famous rapidly and the number of consumers are increasing every day. There is a lot of difference between it and a regular coffeemaker. It can make the ground coffee beans into your perfect cup of coffee. Just because it has a lot of parts does not mean it is difficult to use. You can use it for other reasons like heating water and making tea. All you need to do is push a button. Nowadays, people are busy with their daily schedule so in order to keep up with every day’s pace, it is a great device to use at home. You will never be bored because you can make a variety of coffees with it. Here is how you can clean a Keurig.
Related articles about How to clean a Keurig
What you will need

· The dish wash soap (for plates preferably lemon flavor)
· Paper towels
· White vinegar
· Butter knife
· A clean toothbrush (soft bristle)
· Clean water (boil tap water and wait for it to cool before use)
Step 1: Place you Keurig on a flat surface and start removing the detachable pieces like the K-cup and the K-cup holder. Be careful as it has piercing spikes. At the side is the reservoir, take off the lid and move it. They are all safe to be washed with the dish wash soap.
Step 2: Fill up the reservoir with water and add dish soap. Cover the K-cup holder with water as well. Let them bathe in the sink while you clean rest of the device.
Step 3: At the bottom, you will find the drip tray and the holder and you can cover it up with dish wash soap and leave it on the sink. Another way is to just run it through tap water.
Step 4: It is time for you to look around the K-cup holder. There you will find remaining of coffee beans. It is time to clean them up with the brush. Do not pour water instead dip the brush in the clean water and get rid of the old coffee grounds. After it is fully cleaned, get paper towels and wrap it around the butter knife and use it to dry the places that is wet. Keep on cleaning with new sets of paper towels until you see there is no dirt on the paper towels.
Step 5: Look under the k-cup holder. That is supposed to be dirty so use the butter knife for two reasons. First of all, there is the spikes and secondly, it will clean better. There are corners around the reservoir and under the Keurig. Clean each nooks and crannies with the butter knife because a butter knife wrapped in paper towels can reach all the hard places.
Step 6: The ones you left at the sink, clean them and attach them to the device. Fill halfway up the reservoir with the white vinegar. Start by brewing without any cups inside to get rid of the water inside and continue the procedure till the reservoir is empty. Make sure you have a cup to hold the water. At a point, when the vinegar is not much left you will get a notification and at that time add the clean water. Keep on going till you get rid of all the vinegar. This is how you clean it completely!


