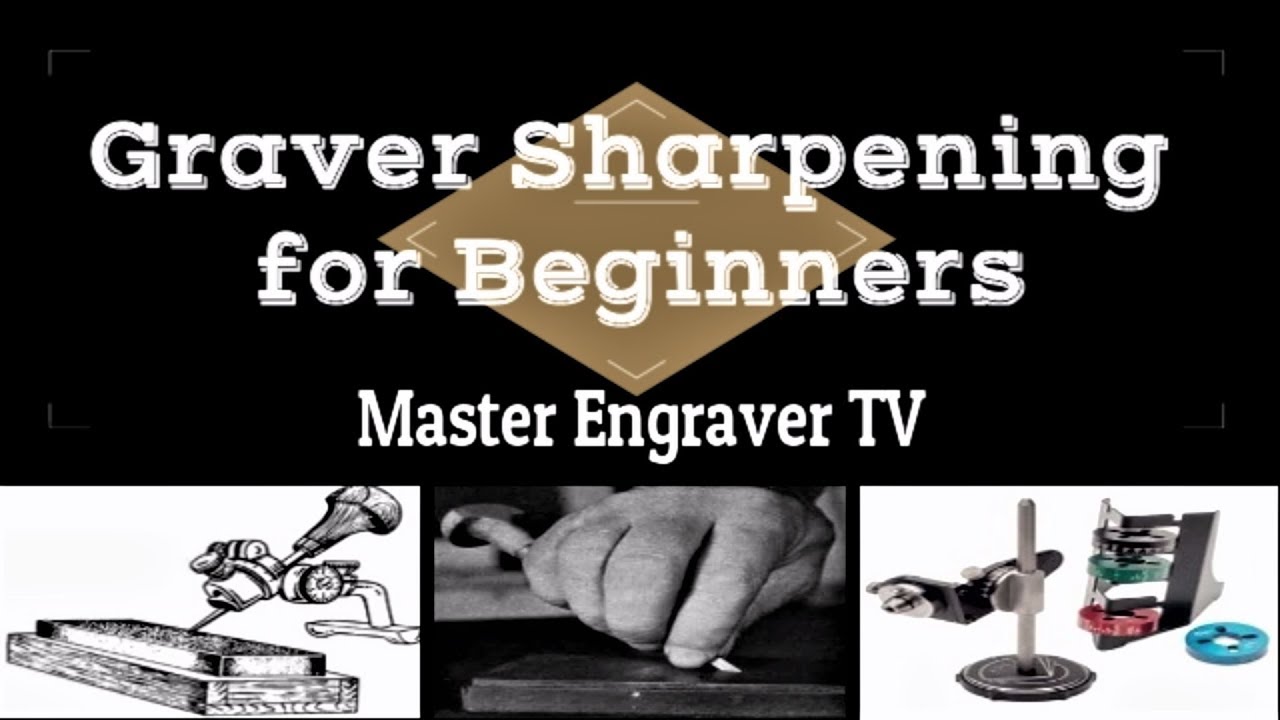
Engraving is an art form that has been around for centuries. It involves carving intricate designs onto various materials, such as metal, wood, and glass. To achieve the desired results, it’s crucial to have sharp engraving tools. In this article, we’ll provide a comprehensive guide on how to sharpen hand engraving tools.
Why You Need to Sharpen Your Engraving Tools
Having dull engraving tools can be frustrating and counterproductive. It makes it difficult to carve precise designs and can result in a sloppy finish. Additionally, dull tools can cause fatigue and strain on your hands.
Sharpening your engraving tools is essential if you want to produce high-quality work. It not only improves the precision of your cuts but also prolongs the lifespan of your tools.
Tools You’ll Need to Sharpen Your Engraving Tools
Before you start sharpening your engraving tools, you’ll need several items:
1. Honing oil – This lubricates the sharpening stone and prevents clogging.
2. Sharpening stone – There are different types of stones, such as diamond, ceramic, and natural stones like Arkansas or Japanese waterstones.
3. Leather strop – This helps polish the edge of the tool after sharpening.
4. Safety goggles – Protect your eyes from flying debris while sharpening.
How to Sharpen Your Engraving Tools
Follow these steps when sharpening your engraving tools:
Step 1: Clean your engraving tool
Before sharpening your tool, make sure it’s clean and free of any debris or rust. Use a wire brush or sandpaper to remove any surface rust or dirt.
Step 2: Prepare the sharpening stone
Add honing oil on top of the sharpening stone and spread it evenly over the surface. The oil helps lubricate the stone and prevents clogging.
Step 3: Position the tool on the sharpening stone
Hold the tool at a 20-degree angle against the stone. Use your dominant hand to hold the tool and your non-dominant hand to guide it.
Step 4: Sharpen the bevel edge
Start by sharpening the bevel edge of the tool. Move the tool in a circular motion over the stone, maintaining a consistent angle. Repeat this process until you see a burr forming along the edge.
Step 5: Flip the tool and repeat
Flip the tool over and repeat steps 3 and 4 on the other side.
Step 6: Polish using a leather strop
After sharpening, use a leather strop to polish the edge of your tool. Rub it back and forth along the strop’s surface, maintaining a consistent angle.
How Often Should You Sharpen Your Engraving Tools?
The frequency of sharpening your engraving tools depends on how often you use them. If you’re an occasional user, you may only need to sharpen them once every few months. However, if you use your tools frequently, you may need to sharpen them weekly or even daily.
Signs that indicate your engraving tools need sharpening include:
1. Difficulty carving precise designs
2. Increased fatigue when using your tools
3. Uneven or jagged cuts
4. Dull appearance of your tools’ edges
Tips for Maintaining Sharp Engraving Tools
To maintain sharp engraving tools, follow these tips:
1. Always clean your tools after use.
2. Store your tools in a dry place to prevent rusting.
3. Use honing oil on your sharpening stone to prevent clogging.
4. Avoid dropping or mishandling your tools.
5. Invest in high-quality engraving tools for better results.
Conclusion
Sharpening your engraving tools is essential if you want to produce high-quality work. Follow the steps outlined above and maintain your tools regularly to get the best results. Remember to use protective gear like safety goggles when sharpening your tools.
References
1. https://www.engraversjournal.com/article.php/2858/index.html
2. https://www.grs.com/Tools/Sharpening-Grinding
3. https://www.ganoksin.com/article/how-to-sharpen-engraving-tools/


