If you’re looking for an easy and affordable way to add a textured finish to your walls or ceilings, then knockdown texture is the way to go. And with the right knockdown texture tools, you can achieve a professional-looking finish that will enhance the look of any room.
In this article, we’ll take a closer look at what knockdown texture is, the benefits of using it, and the essential tools you need to get the job done right. So, let’s dive in!
What is Knockdown Texture?
Knockdown texture is a drywall finishing technique that creates a unique pattern on walls and ceilings. It is achieved by spraying joint compound onto the surface and then using a special tool to flatten or knock down the peaks that form as it dries.
The result is a textured finish that adds dimension and character to your walls or ceilings. Knockdown texture is versatile and can be applied in various ways to produce different effects. For example, a light spray of joint compound can create a subtle texture, while heavier applications can produce more dramatic results.
Benefits of Using Knockdown Texture
There are several benefits to using knockdown texture on your walls or ceilings:
1. Hides Imperfections: If your walls or ceilings have imperfections like cracks, dents, or bulges, knockdown texture can help conceal them.
2. Enhances Aesthetics: Knockdown texture adds depth and interest to any space. It’s an excellent way to update outdated decor or give new life to boring walls.
3. Easy Maintenance: Knockdown texture is easy to clean and maintain. Its textured surface hides dirt and dust well, making it an ideal choice for high-traffic areas.
4. Cost-Effective: Compared to other wall finishes like wallpaper or tile, knockdown texture is relatively inexpensive. And with the right tools, it’s easy to do yourself, saving you money on professional installation.
Essential Knockdown Texture Tools
To achieve a knockdown texture finish, you’ll need the following tools:
1. Joint Compound: This is the primary material used to create knockdown texture. It comes in pre-mixed or powder form and is available at most hardware stores.
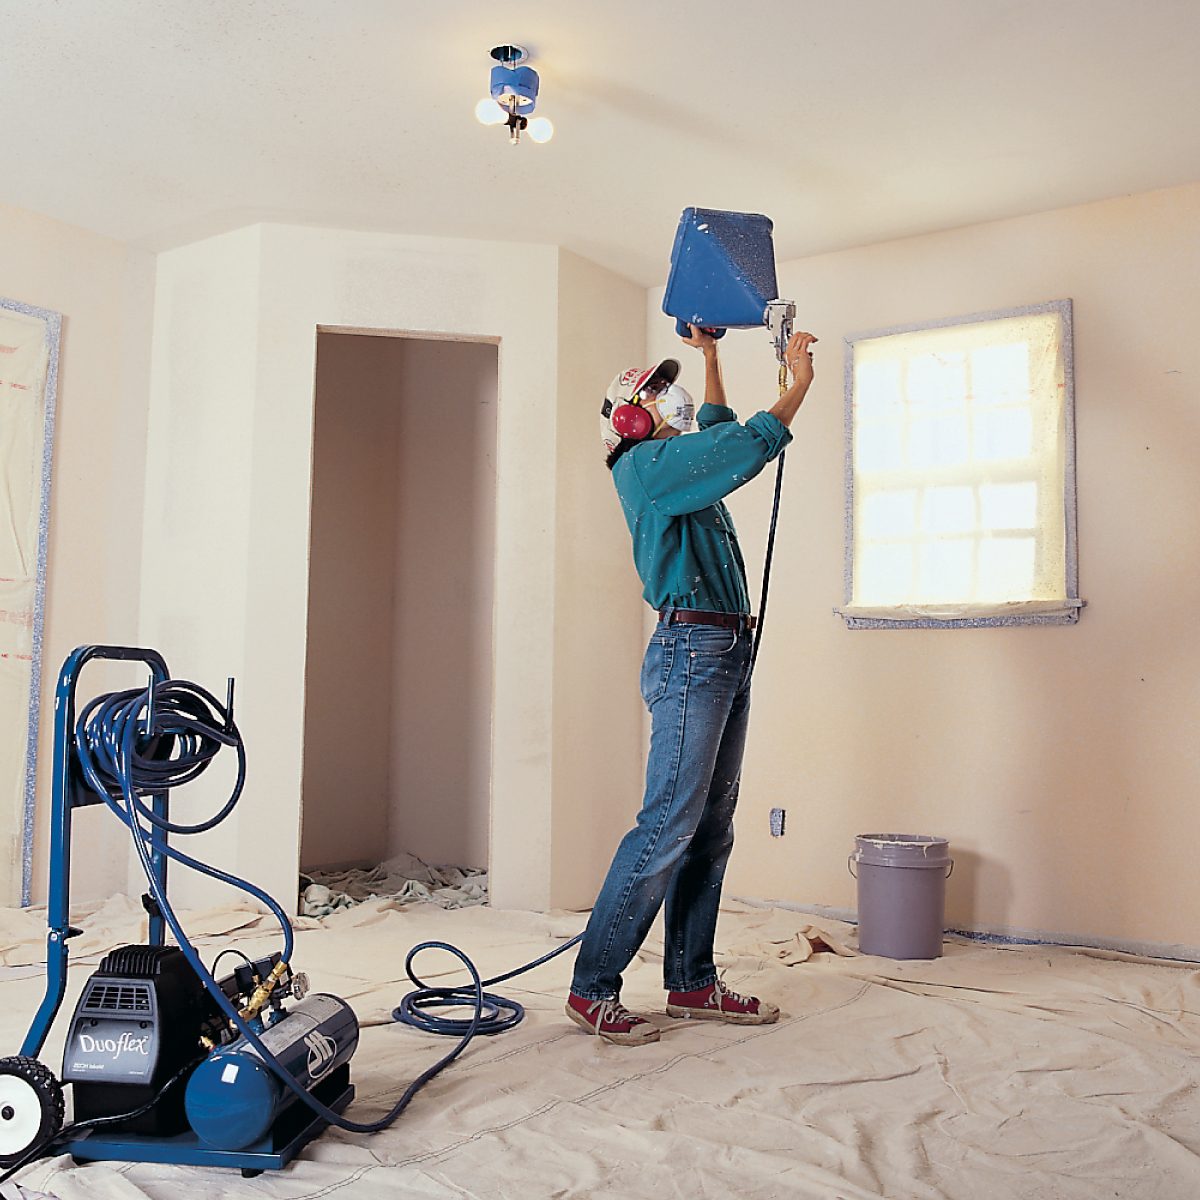
2. Sprayer: You’ll need a sprayer to apply the joint compound to the wall or ceiling. A hopper gun is the most popular choice for knockdown texture because it can handle both light and heavy applications.
3. Knockdown Knife: This tool is used to flatten or “knock down” the peaks of the joint compound after it has been sprayed onto the surface.
4. Trowel: A trowel is useful for spreading joint compound into corners or tight spaces that a sprayer can’t reach.
5. Sandpaper: Once the joint compound has dried, sandpaper is used to smooth out any rough spots or imperfections before painting.
Tips for Using Knockdown Texture Tools
Here are some tips to help you get the best results when using knockdown texture tools:
1. Practice First: Before applying knockdown texture to your walls or ceilings, practice on a small section of drywall first. This will give you a chance to experiment with different techniques and find what works best for you.
2. Use Protective Gear: When spraying joint compound, wear protective gear like goggles and a mask to avoid getting it in your eyes or lungs.
3. Work Quickly: Joint compound dries fast, so work quickly to apply and flatten it before it sets.
4. Don’t Overwork It: Be careful not to overwork the joint compound by going back over areas that have already been flattened. This can cause unwanted patterns and ruin the overall effect.
5. Let It Dry Completely: Allow the joint compound to dry completely before sanding or painting. This can take anywhere from a few hours to overnight, depending on the thickness of the application.
Conclusion
Knockdown texture is an excellent way to add character and interest to your walls or ceilings. With the right knockdown texture tools, you can achieve a professional-looking finish that will enhance any room in your home.
Remember to practice first, use protective gear, work quickly but carefully, and let the joint compound dry completely before sanding or painting. And if you need more guidance, there are plenty of online tutorials and resources available to help you get started.
References:
– https://en.wikipedia.org/wiki/Knockdown_texture
– https://www.familyhandyman.com/project/how-to-spray-texture-your-walls/
– https://www.homedepot.com/c/ah/how-to-do-knockdown-texture/9ba683603be9fa5395fab90f6c0cf6e