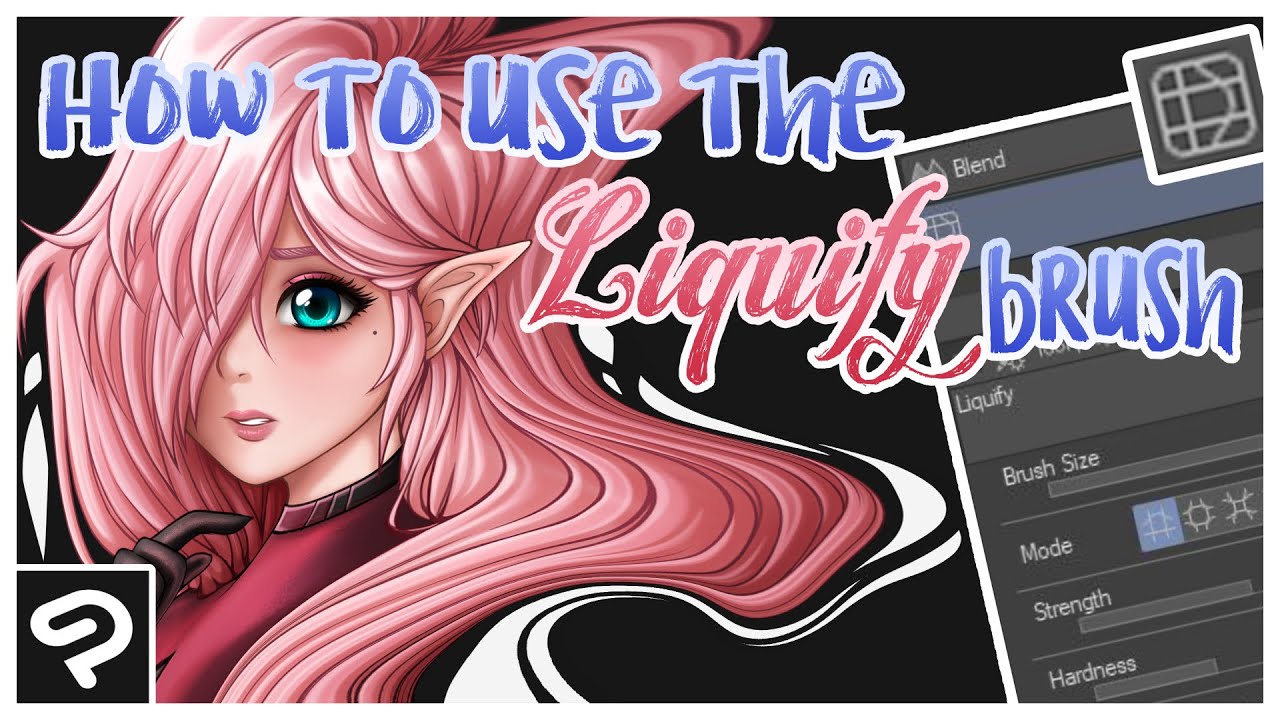
Have you ever looked at your artwork and thought, “this needs a little more oomph”? Well, look no further than the liquify tool in Clip Studio. This powerful feature allows you to manipulate your art in ways you never thought possible. Say goodbye to flat drawings and hello to dynamic creations. In this article, we’ll dive deep into the liquify tool in Clip Studio and explore how it can transform your art.
What is the Liquify Tool?
The liquify tool is a powerful feature in Clip Studio that allows you to distort and warp your artwork. It’s perfect for creating fluid, organic shapes or adding movement to static images. With this tool, you can push, pull, and twist your artwork in any direction, giving it a unique and dynamic feel.
How to Use the Liquify Tool
Using the liquify tool in Clip Studio is incredibly easy. Here are the basic steps:
1. Select the layer you want to liquify.
2. Click on the liquify tool icon in the toolbar.
3. A new window will appear with various options for manipulating your artwork.
4. Use the different tools within the window to manipulate your artwork as desired.
5. When you’re finished, click “OK” to apply the changes.
It’s important to note that while the liquify tool can create stunning effects, it’s also easy to go overboard. Make sure to use it sparingly and with intention.
Types of Liquify Tools
There are several different liquify tools available in Clip Studio, each with its own unique features and abilities. Here are some of the most commonly used ones:
1. Forward Warp Tool – This tool allows you to push and pull your artwork in any direction.
2. Twirl Clockwise Tool – As the name suggests, this tool creates a clockwise swirl effect.
3. Twirl Counter-Clockwise Tool – This tool creates a counter-clockwise swirl effect.
4. Pucker Tool – The puckered tool allows you to create a pinched effect in your artwork.
5. Bloat Tool – This tool creates an inflated effect in your artwork.
Tips for Using the Liquify Tool
While the liquify tool can be incredibly fun to use, it’s important to keep some tips in mind to ensure that you’re using it effectively and efficiently. Here are some tips:
1. Use small brush sizes when working with intricate details.
2. Keep an eye on the overall composition of your artwork as you manipulate it.
3. Use different liquify tools in combination to create unique effects.
4. Experiment with different brush pressures and densities to see how they affect your artwork.
5. Always work on a separate layer so that you can easily undo any changes if necessary.
Liquify Tool Case Study: Creating Movement in a Static Image
Let’s take a look at how the liquify tool can transform a static image into one with movement and energy. In this example, we have a simple drawing of a bird perched on a branch.
To start, we’ll select the forward warp tool and begin pushing and pulling the bird’s wings slightly outward, as if it’s about to take flight.
Next, we’ll switch to the twirl clockwise tool and create a gentle spiral effect in the tail feathers, as if they’re being blown by a light breeze.
Finally, we’ll use the pucker tool to create a subtle pinching effect in the feathers around the neck and head, giving the impression of tension or excitement.
Before and after using the liquify tool on this image, there is a clear difference in energy and movement. With just a few simple adjustments, we’ve transformed a flat drawing into one with dynamic potential.
Conclusion
The liquify tool in Clip Studio is a powerful feature that can transform your artwork from static to dynamic. From pushing and pulling to twisting and swirling, this tool allows you to create fluid, organic shapes and add movement to static images. By using different liquify tools in combination and experimenting with brush sizes and densities, you can create stunning effects that take your art to the next level.
References:
– https://www.clipstudio.net/en/
– https://en.wikipedia.org/wiki/Liquify_tool


