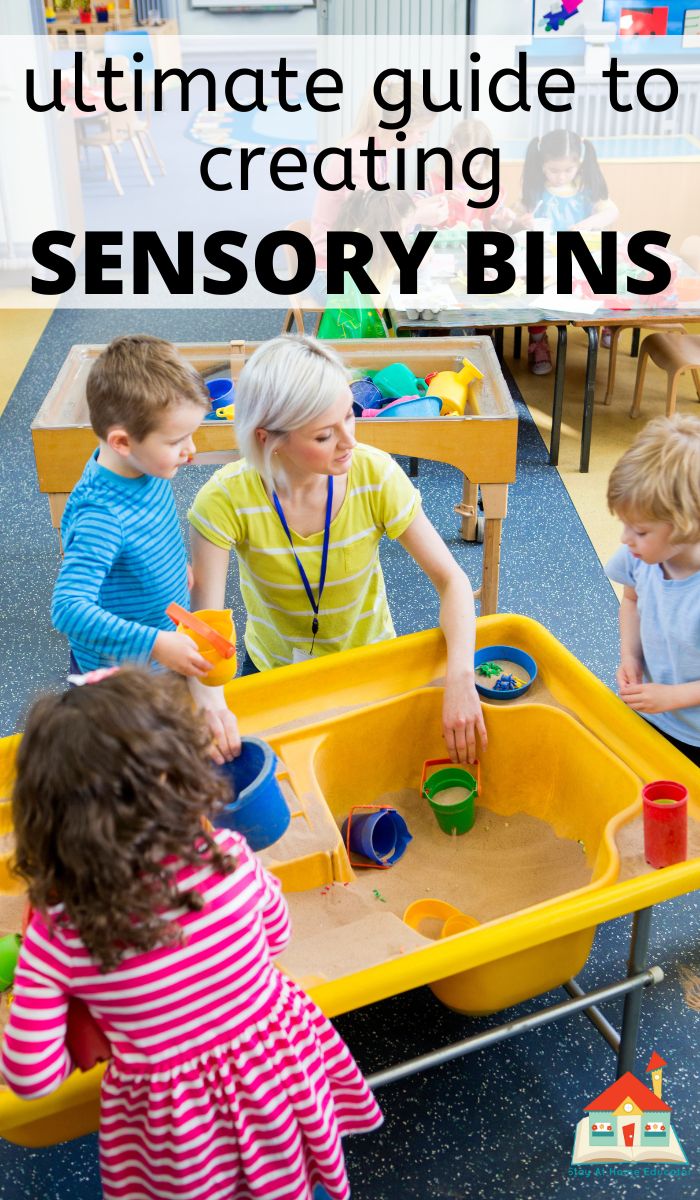
Are you looking for a fun and engaging way to stimulate your child’s senses? Look no further than sensory bins! With the right sensory bin tools, you can create endless possibilities for exploration and learning. In this guide, we’ll cover everything you need to know about sensory bins and the essential tools you need to get started.
What are Sensory Bins?
Sensory bins are containers filled with materials that encourage children to use their senses. They can be made from a variety of materials, such as plastic tubs or wooden boxes, and can be filled with different items based on your child’s interests. Sensory bins are a great way to introduce children to new textures, colors, and sounds while also developing important skills like fine motor control and problem-solving.
Why Use Sensory Bins?
Sensory play is crucial for young children’s development as it helps them learn about the world around them through hands-on experiences. Sensory bins provide an opportunity for children to explore different materials in a safe and controlled environment. They can also help children regulate their emotions by providing a calming outlet for stress or anxiety.
Essential Sensory Bin Tools
1. Container
The first thing you’ll need is a container to hold your sensory bin materials. A shallow plastic or wooden tub works well, but you can also use a large tray or even a kiddie pool for bigger projects.
2. Base Material
The base material is what fills the bottom of the container and provides a surface for playing. Popular options include rice, sand, water beads, or dried beans.
3. Accessories
Accessories are the key to making your sensory bin unique and engaging for your child. Depending on your theme, this could include toys, scoops, spoons, cups, tweezers, or even cookie cutters.
4. Storage
Once you’re finished playing, you’ll need a place to store your sensory bin tools. A large plastic bin with a lid is ideal for keeping everything organized and in one place.
Other Sensory Bin Tools to Consider
– Scented materials like herbs or essential oils
– Textured materials like feathers or pom poms
– Sound-making materials like bells or shakers
– Natural materials like rocks or shells
Creating Your Sensory Bin
Now that you have the essential sensory bin tools, it’s time to get creative and start building your sensory bin. Here are some tips to help you get started:
1. Choose a Theme
The first step is choosing a theme for your sensory bin. This could be anything from a color theme to a specific holiday or season. Get creative and think outside the box!
2. Select Materials
Next, select your base material and accessories based on your chosen theme. For example, if you’re creating an ocean-themed bin, you might use blue water beads as your base material and include seashells and toy sea creatures as accessories.
3. Set Up Your Bin
Once you have all of your materials ready, it’s time to set up your sensory bin. Fill your container with the base material and add in your accessories. Encourage your child to explore and play with the materials at their own pace.
4. Supervise Playtime
It’s important to supervise your child during sensory playtime to ensure their safety and prevent any potential choking hazards. Always keep an eye on them while they play and make sure they’re using the tools appropriately.
Conclusion
Sensory bins are a fantastic way to encourage exploration and learning in young children. With the right sensory bin tools, you can create endless possibilities for fun and engaging playtime experiences. So why not give it a try? Start exploring today!
References:
– “Sensory Bins 101: What They Are, Why They’re Great, and How to Use Them” by Angela Thayer
– “Sensory Play: A Tool for Development and Communication” by Karen L. Wiltshire
– “Sensory Bins: The Benefits of Sensory Play” by Katie Chiavarone


