If you’re a DIY enthusiast or a professional mechanic, you know how frustrating it can be when threads on nuts, bolts, and other fasteners get damaged. Fortunately, there’s a solution: thread repair tools. These nifty devices can help fix stripped or otherwise damaged threads quickly and easily.
In this guide, we’ll take a closer look at thread repair tools and how they work. We’ll also provide some tips for using them effectively and safely. So let’s dive in!
What Is a Thread Repair Tool?
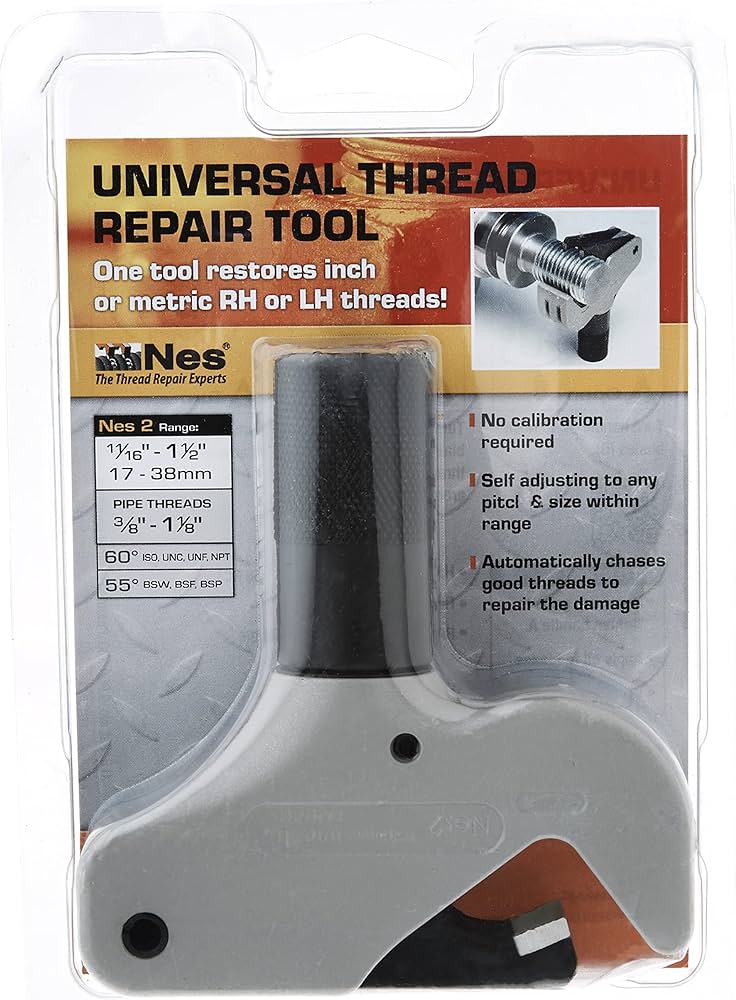
A thread repair tool is a device that helps restore damaged threads on fasteners such as bolts, screws, and nuts. In most cases, these tools are used to fix stripped threads – that is, threads that have been worn away or otherwise damaged so that the fastener no longer holds securely.
There are several types of thread repair tools available, including taps, dies, helical inserts, and more. Each type has its own unique features and benefits.
Types of Thread Repair Tools
1. Taps – Taps are used to create new threads in holes where the original threads have been damaged or removed. They come in various sizes and shapes to match different screw sizes and thread pitches.
2. Dies – Dies are used to create new threads on bolts or studs where the original threads have been damaged or removed. They come in various sizes and shapes to match different bolt sizes and thread pitches.
3. Helical Inserts – Helical inserts are coiled wire inserts that are screwed into tapped holes to create new threads. They can also be used to repair stripped threads by providing a stronger grip for the fastener.
4. Thread Chasers – Thread chasers are specialized taps and dies designed specifically for repairing existing threads rather than creating new ones.
How Do You Use a Thread Repair Tool?
Using a thread repair tool is a relatively straightforward process, but it does require some care and attention to detail. Here are the basic steps for using a tap to repair stripped threads:
1. Choose the correct tap size – Before you begin, make sure you have the right tap size for the hole you’re repairing. You can use a thread gauge or other measuring tool to determine the correct size.
2. Apply cutting oil – Apply a small amount of cutting oil to the tap to help lubricate it and reduce friction during the threading process.
3. Start the tap – Carefully insert the tap into the hole and turn it clockwise by hand until it starts to bite into the metal. Once it’s started, you can use a wrench to turn it further.
4. Cut new threads – Continue turning the tap clockwise while applying slight downward pressure until it cuts new threads in the hole.
5. Clean up – Once you’ve created new threads, remove the tap and clean up any metal shavings or debris from the hole.
Tips for Using Thread Repair Tools
– Always wear eye protection when using thread repair tools.
– Use cutting oil or another lubricant to reduce friction and extend the life of your tools.
– Make sure you’re using the correct size tap or die for the job at hand.
– Take your time and work slowly and carefully to avoid damaging your fasteners or creating additional problems.
– If you’re not confident in your ability to use thread repair tools correctly, consider consulting a professional mechanic.
Conclusion
Thread repair tools are an essential part of any mechanic’s toolkit, whether you’re working on cars, motorcycles, or other machinery. With the right tools and techniques, you can quickly and easily fix damaged threads on bolts, screws, and nuts. So if you’re struggling with stripped threads, don’t give up – try using a thread repair tool today!
Wiki Reference: https://en.wikipedia.org/wiki/Thread_repair


