Are you tired of rummaging through your toolbox or garage trying to find the right tool? Do you find yourself wasting valuable time searching for misplaced equipment or mistakenly grabbing the wrong item? Tool labels may be the solution you’ve been searching for. In this ultimate guide, we’ll explore everything you need to know about organizing your tools and maximizing efficiency with the help of tool labels.
What Are Tool Labels?
Tool labels are adhesive stickers, tags, or markers that can be attached to any type of equipment or tool. These labels typically include important information such as the name of the tool, its function, size, and brand. Tool labels come in various colors and sizes and can be customized to fit your specific needs.
Why Use Tool Labels?
Using tool labels has several benefits, including:
1. Organization: Tool labels help keep your equipment organized by clearly identifying each item.
2. Time-Saving: With tool labels, it’s easier to find what you need quickly, saving time and increasing productivity.
3. Safety: Proper labeling helps prevent accidents by ensuring that the correct tools are used for each task.
4. Accountability: Labeling also helps hold employees accountable for returning tools to their designated spot after use.
Types of Tool Labels
There are several types of tool labels available on the market today:
1. Adhesive Stickers: These are the most common type of label and can be used on almost any surface.
2. Magnetic Labels: Magnetic labels are ideal for metal surfaces such as toolboxes and cabinets.
3. Color-Coded Labels: Color-coded labels make it easy to identify tools at a glance and can also be used for inventory purposes.
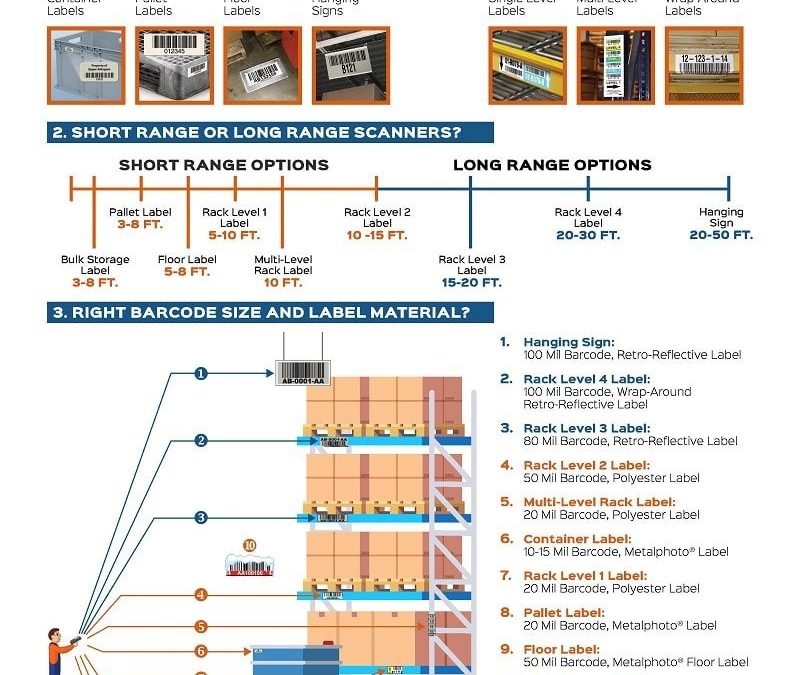
4. Barcode Labels: Barcode labels allow for quick scanning and inventory tracking.
How to Create Effective Tool Labels
To create effective tool labels, follow these simple steps:
1. Identify the Information to Include: Determine what information is essential to include on each label, such as the tool name, size, brand, and function.
2. Choose the Right Label Type: Select the appropriate type of label based on your needs and the surface you’ll be applying it to.
3. Customize Your Labels: Customize your labels with different colors or designs to make them more visually appealing.
4. Use Clear Fonts: Make sure that the font used on your labels is easy to read and understand.
5. Test Your Labels: Before applying your labels, test them out to ensure they are durable and won’t fall off easily.
Best Practices for Using Tool Labels
To get the most out of tool labels, follow these best practices:
1. Consistency: Be consistent in how you label your tools, using the same format for each item.
2. Location: Ensure that labels are placed in a visible location so that they can be easily seen and understood.
3. Maintenance: Regularly check your labels to ensure they remain legible and securely attached.
4. Training: Provide training to employees on how to use and maintain labeled equipment properly.
5. Updating: Update labels as needed when new tools are added or when old ones are retired.
Conclusion
In conclusion, tool labels can be an effective way to organize your tools and maximize efficiency in any workplace setting. By following these simple steps and best practices, you can create effective tool labels that will save time, increase safety, and improve productivity. Don’t let disorganization slow you down – start labeling today!
References:
– https://www.grainger.com/content/qt-how-to-label-tools-and-equipment
– https://www.seton.com/resource-center/facility-identification/using-tool-labels-for-improved-workplace-safety/
– https://www.bradyid.com/solutions/by-industry/manufacturing/tool-tracking-and-management/how-to-use-tool-labels


