Are you tired of spending countless hours on manual Salesforce development tasks? Look no further than the Tooling API. With its powerful features and capabilities, the Tooling API is a game-changer for developers looking to streamline their workflows and increase efficiency.
In this comprehensive guide, we’ll explore everything you need to know about the Tooling API – from its key features and benefits, to best practices for implementation. So let’s dive in!
Understanding the Tooling API
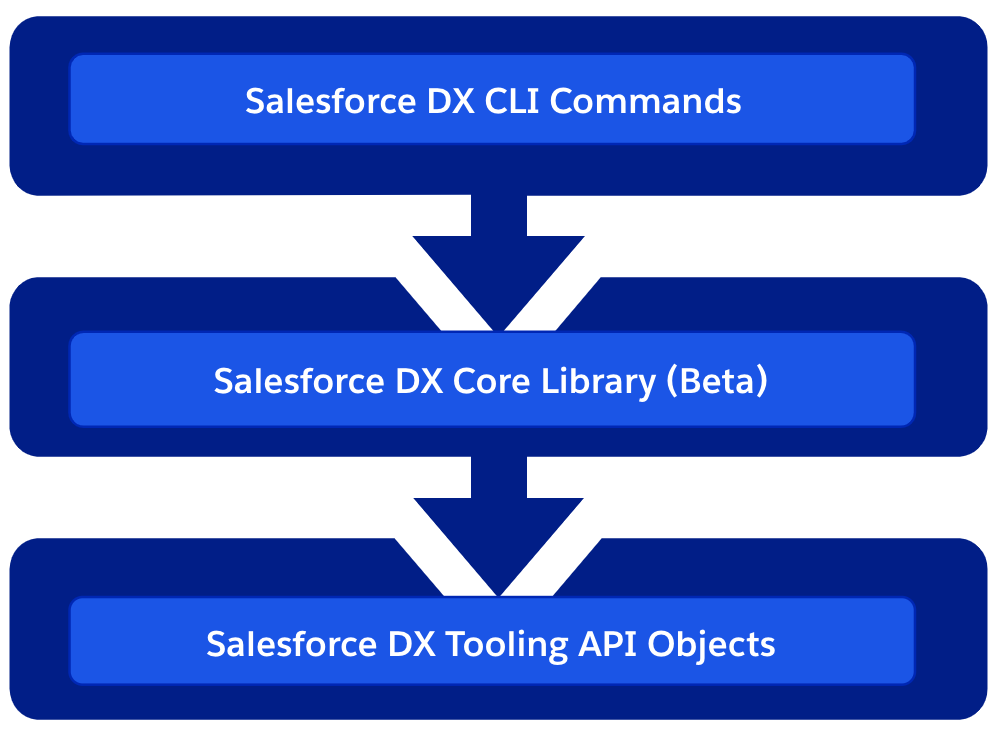
The Tooling API is a RESTful web service that provides a programmatic interface for interacting with Salesforce metadata. It allows developers to perform various tasks related to Apex code, Visualforce pages, Lightning components, and more – all without needing to access the Salesforce user interface.
One of the key advantages of the Tooling API is its ability to automate many common development tasks. For example, it can be used to create Apex classes, modify existing Visualforce pages, or even deploy entire applications. By automating these processes, developers can save time and reduce errors while focusing on more strategic initiatives.
Features and Capabilities
So what specific features does the Tooling API offer? Let’s take a closer look:
1. Apex Code Management: The Tooling API allows developers to manage Apex code at scale, including creating new classes and triggers, modifying existing code, and executing anonymous Apex scripts.
2. Debugging and Testing: The Tooling API includes robust debugging and testing capabilities, allowing developers to quickly identify errors in their code and troubleshoot issues in real-time.
3. Metadata Management: With the Tooling API, developers can easily retrieve metadata information for various Salesforce components such as Visualforce pages, Lightning components, custom objects, fields etc.
4. Deployment Automation: By leveraging the Tooling API’s deployment automation capabilities, developers can streamline the process of deploying new code changes across their organization.
Best Practices for Implementation
Now that we’ve explored some of the key features and capabilities of the Tooling API, let’s discuss best practices for implementation:
1. Plan Ahead: Before implementing the Tooling API, it’s important to have a clear plan in place for how you will use it. This includes defining specific use cases, identifying required permissions, and setting up appropriate security measures.
2. Use Version Control: To ensure that code changes are properly tracked and managed, it’s recommended to use version control tools such as Git or SVN.
3. Leverage Automation: By automating common development tasks using the Tooling API, you can save time and reduce errors while improving overall productivity.
4. Test Thoroughly: As with any new tool or process, it’s critical to thoroughly test your implementation of the Tooling API before rolling it out to production environments.
Conclusion
In conclusion, the Tooling API is a powerful tool for Salesforce developers looking to streamline their workflows and increase efficiency. By leveraging its robust features and capabilities, developers can automate common tasks, manage code more effectively, and improve overall productivity.
If you’re interested in learning more about the Tooling API, be sure to check out the official Salesforce documentation or consult with an experienced Salesforce consultant.
References:
1. “Tooling API Developer Guide.” Salesforce.com. Retrieved from https://developer.salesforce.com/docs/atlas.en-us.api_tooling.meta/api_tooling/intro.htm
2. “Getting Started with Apex.” Trailhead by Salesforce. Retrieved from https://trailhead.salesforce.com/en/content/learn/modules/apex_basics_dotnet
3. “Version Control Best Practices.” Atlassian.com. Retrieved from https://www.atlassian.com/git/tutorials/version-control-best-practices


