If you’re a candle making enthusiast, then you know the importance of having a wick centering tool. This handy tool helps you maintain the perfect position of your wick while pouring wax into the mold.
But with so many options available in the market, it can be overwhelming to choose the right one. In this ultimate guide, we’ll take you through everything you need to know about wick centering tools.
What is a Wick Centering Tool?
A wick centering tool is a small, handheld device that helps keep the wick in place while pouring wax into the mold. It ensures that the wick stays at the center of the candle and does not move around during the process.
Why Do You Need a Wick Centering Tool?
Using a wick centering tool ensures that your candle has an even burn and does not tunnel or create uneven wax pools. Without it, your wick may shift during the pouring process, leading to an uneven burn and poor-quality candle.
Types of Wick Centering Tools
There are several types of wick centering tools available in the market, each with its unique features and benefits. Here are some of the most popular ones:
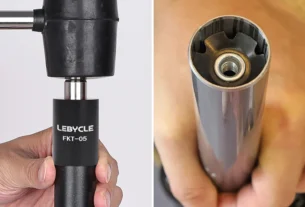
1. Metal Wick Centering Tools
Metal wick centering tools are made of stainless steel or aluminum and have a rod-like structure with two pointed ends. They are sturdy and durable and can be used multiple times.
2. Plastic Wick Centering Tools
Plastic wick centering tools are made of high-quality plastic and have a similar rod-like structure as metal ones. They are lightweight, easy to use, and disposable.
3. Wooden Wick Centering Tools
Wooden wick centering tools are made of natural wood and have a flat or curved structure. They are eco-friendly and can be reused multiple times.
How to Use a Wick Centering Tool?
Using a wick centering tool is easy and straightforward. Here’s how you can use it:
1. Choose the Right Size
Make sure you choose the right size wick centering tool that matches the diameter of your mold.
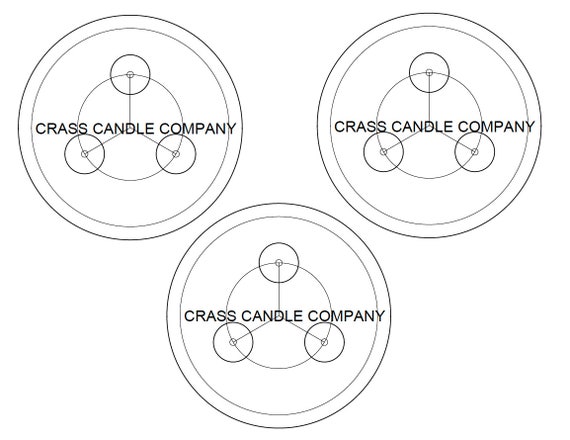
2. Insert the Tool
Insert the pointed end of the wick centering tool into the bottom of the mold, where you want your wick to be positioned.
3. Place the Wick
Slide your wick through the hole in the centering tool until it reaches the bottom of the mold.
4. Pour Wax
Pour wax into the mold slowly, ensuring that it covers the entire wick and fills up evenly around it.
5. Remove the Tool
Once the wax has cooled down, gently remove the wick centering tool by pulling on its top end.
Tips for Using a Wick Centering Tool
Here are some useful tips for using a wick centering tool:
1. Make sure your wick is long enough to reach the bottom of your mold.
2. Don’t push too hard while inserting the tool as it may damage your mold.
3. Keep your hands steady while pouring wax to avoid any spills or messes.
4. Use a thermometer to monitor wax temperature for optimal results.
Conclusion
A wick centering tool is an essential tool for candle making enthusiasts who want to create beautiful and high-quality candles. With so many options available in the market, choosing the right one can be overwhelming, but with this ultimate guide, you’re now equipped with all the information you need.
Remember to choose a tool that fits your needs and preferences, and follow our tips on how to use it effectively for optimal results.
Happy candle-making!
References:
Wikipedia: https://en.wikipedia.org/wiki/Candlemaking