Have you ever found yourself struggling to find your tools among a sea of identical items? Do you want to add a personal touch to your work equipment that reflects your unique style? Look no further than woodgraining!
Woodgraining is the art of creating a faux wood finish on any surface, including metal, plastic, and even concrete. It’s a process that has been used for centuries to add elegance and sophistication to furniture and architectural details. But did you know that you can use this technique to personalize your tools as well?
In this article, we’ll walk you through the steps of woodgraining your tools to create a one-of-a-kind set that will make all your coworkers jealous.
Why Woodgrain Your Tools?
There are many reasons why you might want to personalize your tools using woodgrain. Here are just a few:
1. Easy Identification: If you work in an industry where tools get mixed up frequently, adding a distinctive woodgrain pattern can make it easier for you to identify your own equipment at a glance.
2. Professional Appearance: A set of tools with a cohesive woodgrain finish looks more professional and put-together than a collection of mismatched items.
3. Reflect Your Style: By choosing the type of wood and the level of distressing, you can create a custom look that reflects your personal taste.
Getting Started
Before you begin, gather all the supplies you’ll need:
– Sandpaper (120 grit)
– Primer
– Paintbrushes
– Wood stain
– Topcoat (varnish or polyurethane)
You’ll also need some wood-graining tools, which can be purchased online or at most hardware stores. These include:
– Graining comb
– Rocker
– Veining tool
Step 1: Prepare Your Tools
The first step in woodgraining your tools is to prepare the surface. Use sandpaper to remove any existing finish or rust, and wipe down the surface with a clean cloth.
Next, apply a coat of primer to help the paint adhere evenly. Allow the primer to dry completely before moving on to the next step.
Step 2: Apply Base Coat
Once the primer is dry, you can begin applying your base coat. Choose a color that closely matches the type of wood you want to imitate.
Apply the paint using a paintbrush, making sure to cover all surfaces evenly. Allow the paint to dry completely before moving on to the next step.
Step 3: Create Woodgrain Effect
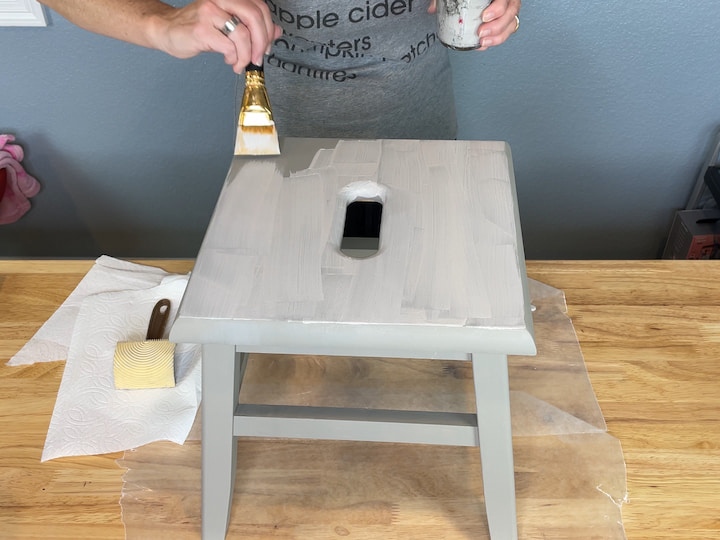
Now it’s time to create the woodgrain effect! Dip your graining comb into a small amount of wood stain and drag it across the surface of your tool in long, even strokes.
Use your veining tool to add knots and other natural imperfections, and use your rocker to create the distinctive grain pattern.
Don’t worry if it doesn’t look perfect right away – part of the charm of woodgraining is its organic, imperfect look. Allow the stain to dry completely before moving on to the next step.
Step 4: Apply Topcoat
Finally, apply a clear topcoat such as varnish or polyurethane to protect your newly-grained tools from wear and tear. Allow the topcoat to dry completely before using your tools.
Conclusion
Woodgraining your tools is a fun and easy way to personalize your work equipment while also creating a more professional appearance. With just a few simple steps, you can create a custom set that reflects your unique style and makes it easier for you to identify your own tools at a glance.
So why not give it a try? We guarantee you’ll be pleased with the results!
References:
– https://en.wikipedia.org/wiki/Wood_graining
– https://www.bobvila.com/articles/how-to-faux-wood-grain/
– https://www.familyhandyman.com/project/faux-wood-graining-technique/


